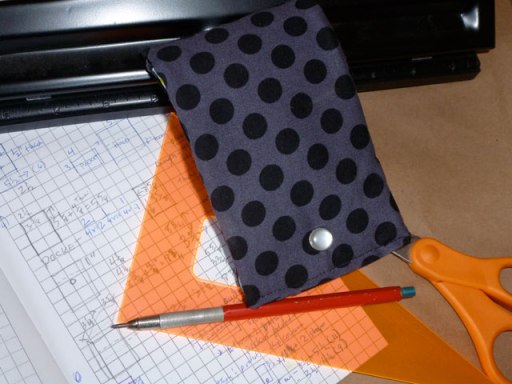
Father’s Day is right around the corner so I thought I’d do another iPod case tutorial, but this time one that attaches to a belt. I added the record player to give it a retro touch, coating the fabric with a digital ground and running it through my printer – but that’s a post for another day! Let’s start sewing, shall we?
Here are the sizes of the fabrics and quilt batting that you’ll need, as well as the order they go in. Note that the outer fabric faces the inner fabric.
Cut out the fabric and felt for the loop. Fold fabric in half, right side facing in, and line up the felt to the fold. Sew along the sides, turn right side out, tuck the ends in and stitch.
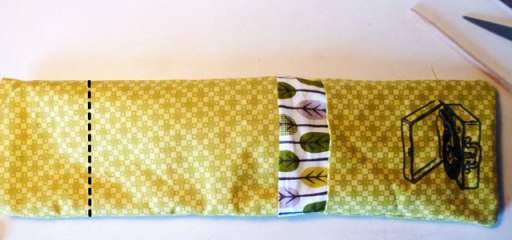
Take the outer strip of fabric and fold in half. Grab the loop, leaving 2″ overlapping the top of the fabric, and mark down 1/2″. Pin into place and sew on the dotted line. Note – before sewing – open up the fabric – you don’t want to sew through both layers!
Line up the fabrics as shown in the first photo – quilt batting, inner fabric, large pocket, small pocket, and the outer fabric. Note that the loop is positioned near the bottom half.
Pin together and sew along three sides, leaving the end opposite the record player open. Turn right side out, and push out corners with a knitting needle or a chopstick.
Originally, I had intended for the flap of the pouch to fold all the way down like the first one that I made. Then I decided I wanted the record player to show, so I lopped 2″ inches off of the top, folded the fabric under, and stitched it up.
I added velcro to close the pouch and a large (size 4) snap for the loop.


